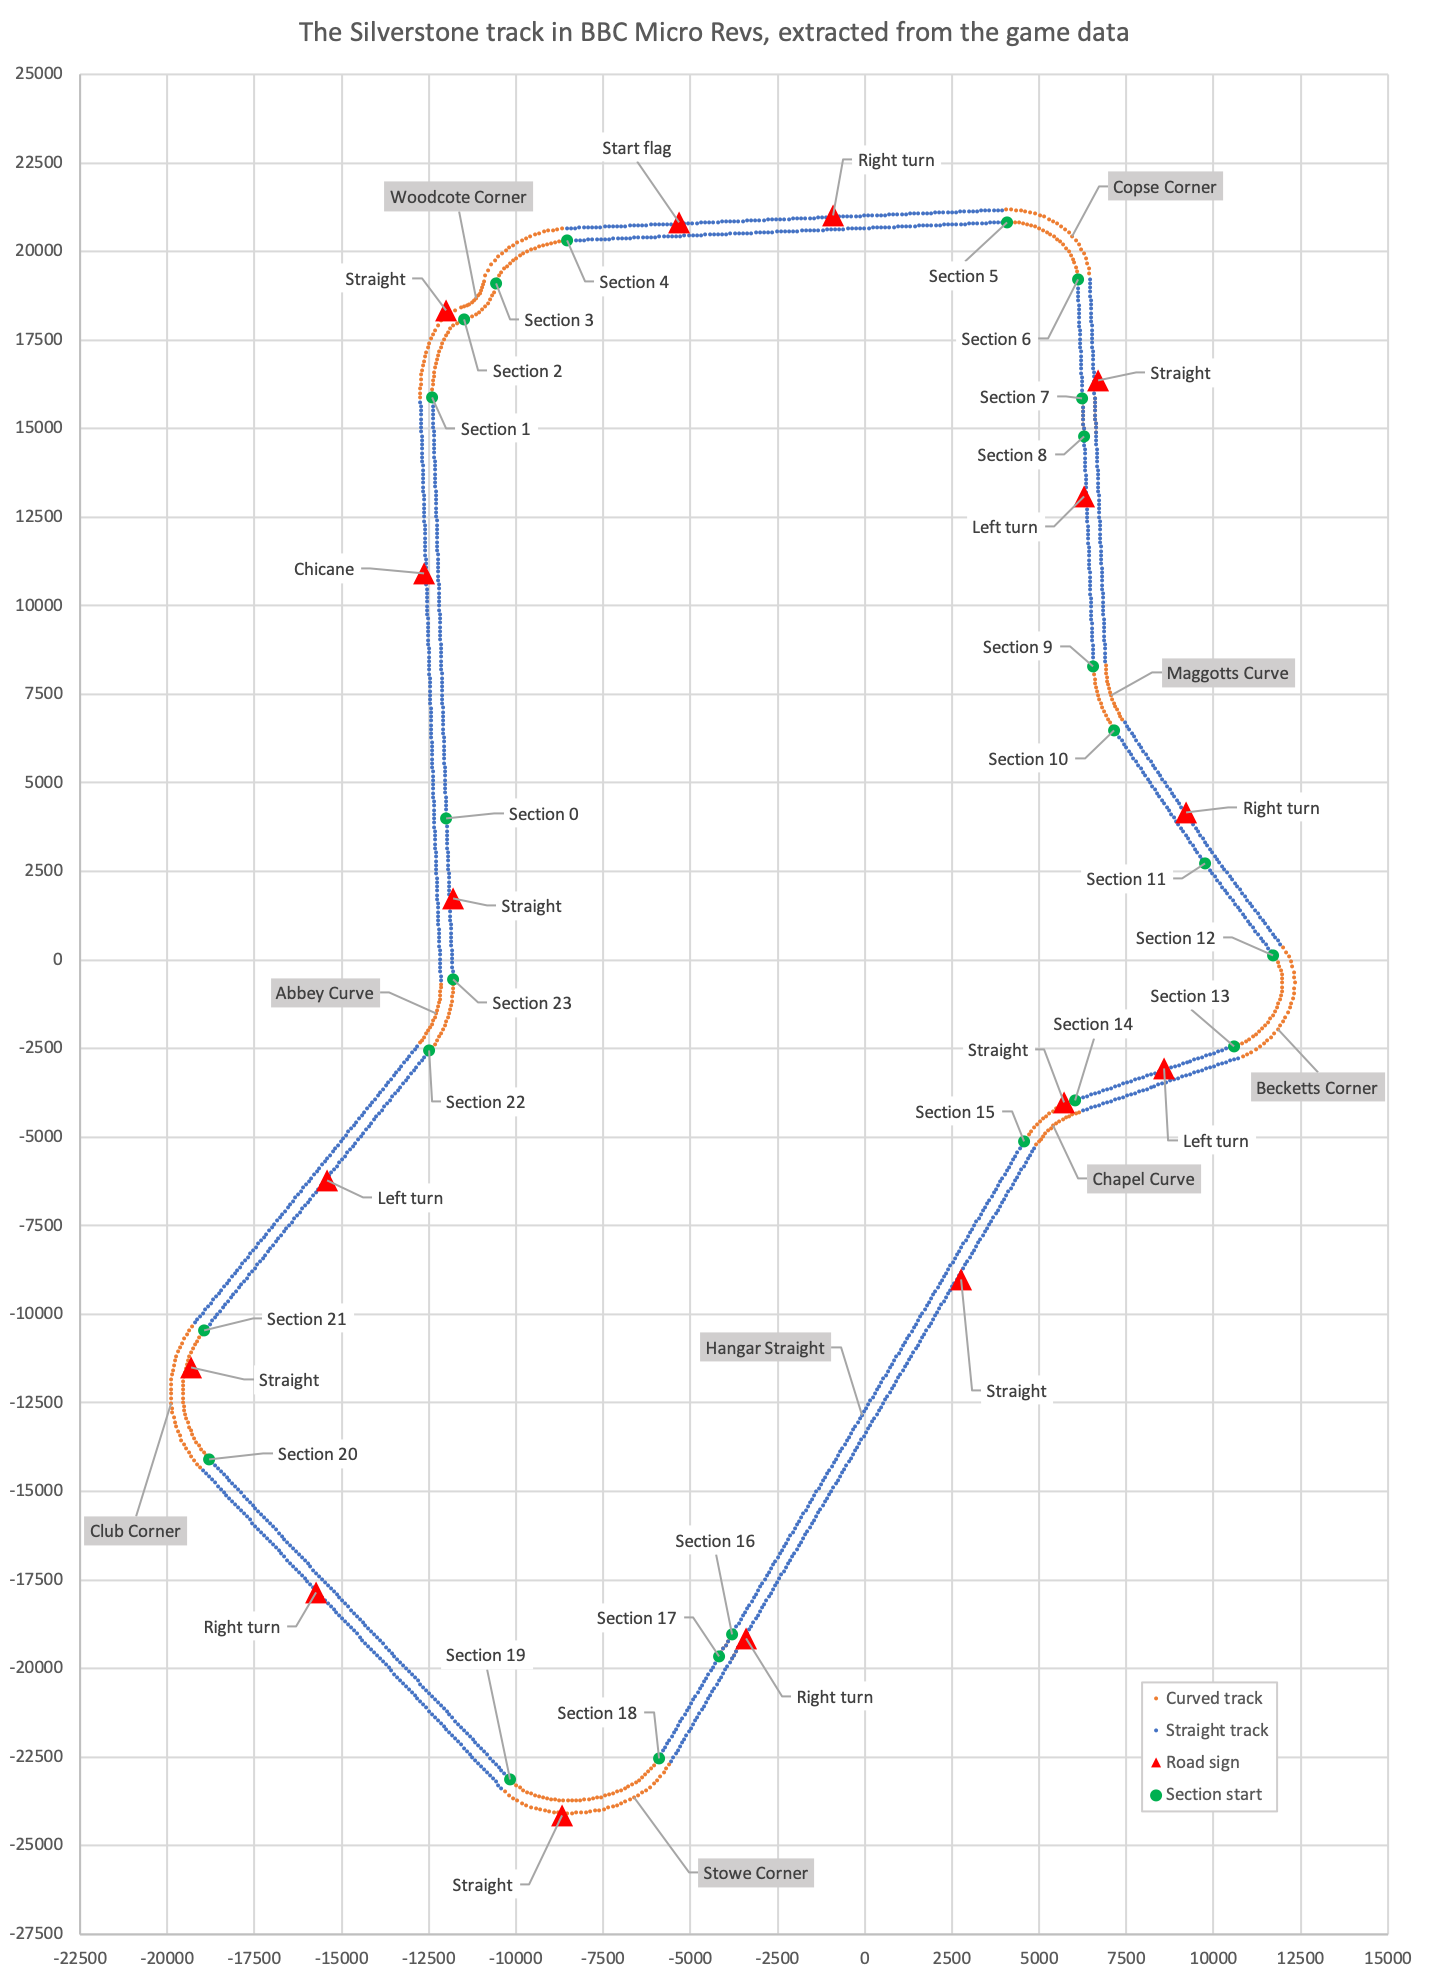
Each track supports up to 16 road signs, from starting flags to chicanes
The track and cars are obviously the main focus of your attention as you hurtle around Silverstone, but just as important, particularly for novice drivers, are the road signs that tell you what's coming up. Whether you're trying to pick the perfect racing line or just struggling to stay on the track, it's really useful to know whether you're approaching a straight section, corner, chicane or finishing line.
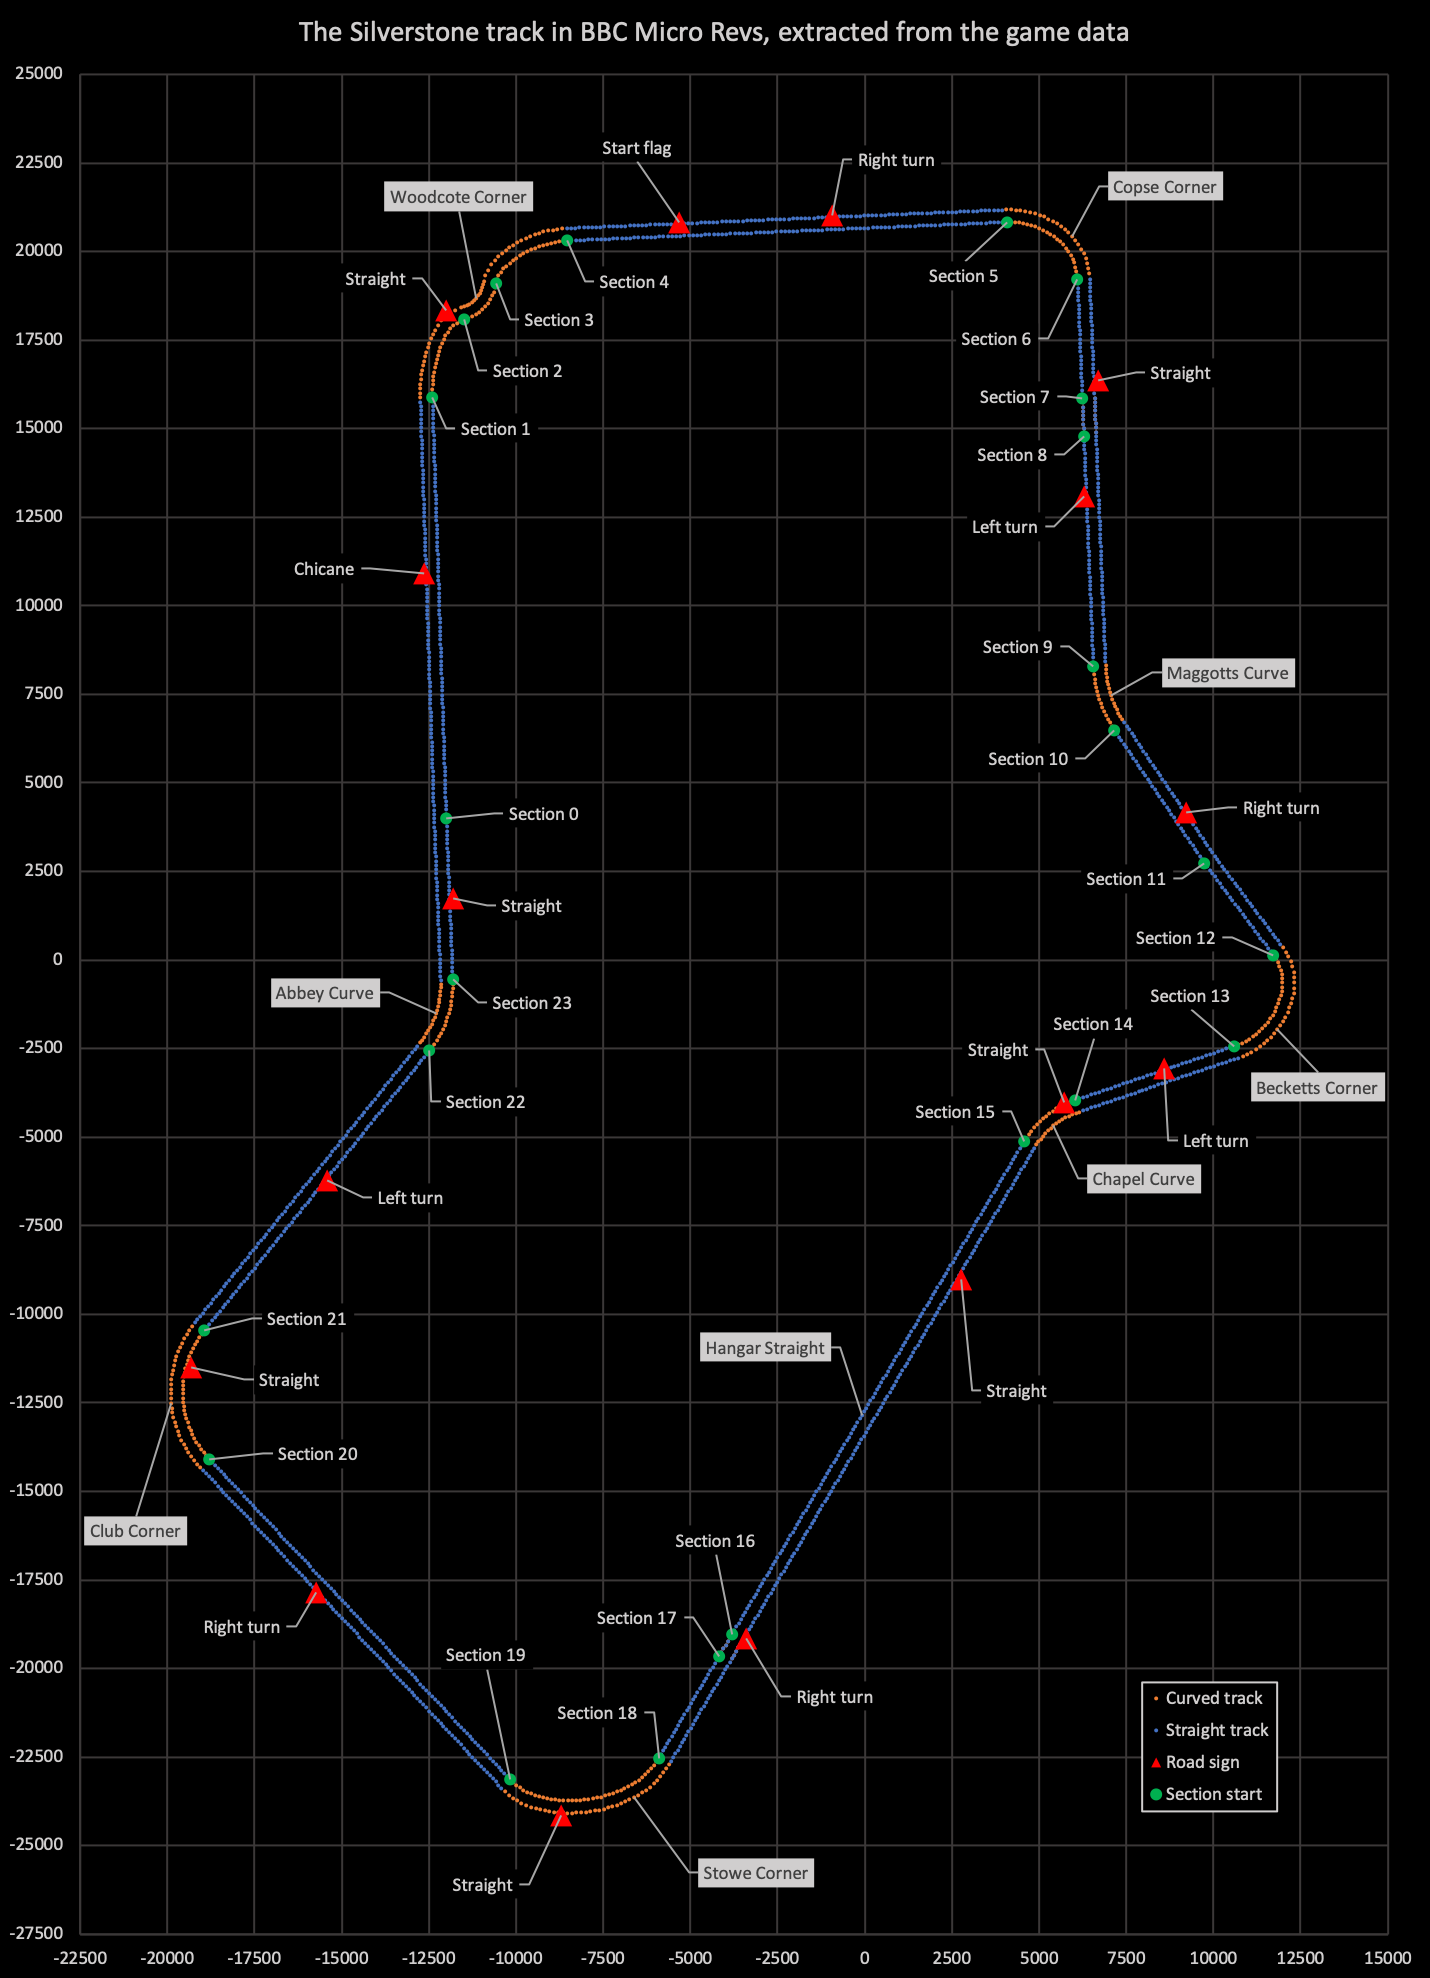
That's where the road signs come in. Here's a map of Silverstone, showing all 16 of the supported road signs as red triangles:


Let's take a look at how the road signs in Revs work.
Knowing when to display a sign
------------------------------
The BuildRoadSign routine uses the data from the track data file to build the correct sign object (if there is one) for the player's current track section. See the deep dive on building a 3D track from sections and segments for details about track sections.
The first entry in the first block of section data in the track data file is the trackSectionData entry, which is a two-nibble value. The top nibble (i.e. the first digit in the hexadecimal number) contains the sign number for this section.
This doesn't necessarily mean that this section contains this sign number. Instead, it means that if we have just entered a new track section and the sign number from the new track section's trackSectionData is different to the sign number from the previous section, then when we enter the new section, we should build the new sign number, otherwise we build the next sign number. This spreads out the 16 sign numbers across the 26 section numbers, removing the need to have a separate table mapping sign numbers to sections.
Note that the similar-sounding trackSignData block also relates sign numbers to section numbers, but this latter one is different: trackSectionData controls when to display a sign in terms of section, but trackSignData controls where to show it in terms of 3D coordinates. We'll cover the trackSignData below, but it's important to know the difference.
To be explicit, in Silverstone, the 16 signs are drawn when entering these sections (as defined in trackSectionData):
0, 1, 3, 5, 6, 7, 9, 11, 14, 15, 16, 17, 19, 20, 21, 22
and those signs are drawn relative to the following section coordinates (as defined in trackSignData):
0, 2, 3, 5, 7, 9, 12, 14, 14, 14, 18, 19, 20, 21, 22, 23
This can get a little confusing, but the first batch defines when to show the signs, and the second batch defines where to show them.
Sign types
----------
There are four road signs and one starting flag in Revs, which together account for six of the 13 objects in Revs. The sign objects are object numbers 7 to 12, as follows (clicking the link will take you to that sign's object type definition in the deep dive on object definitions):
Each sign's type is defined in the trackSignData table in the track data file. There's one byte for each of the 16 signs, which breaks down as follows:
- Bits 0-2 = The object type of the road sign (add 7 to get the type)
- Bits 3-7 = The number of track section to use as the base coordinates for the sign (see the next section)
As an example, consider the sign that's shown at the start of the practice laps, which is sign number 15. This sign has a value of %10111000 in the trackSignData table, which gives us %10111 = 23 for the section number to use for the base coordinates, and %000 = 0 for the sign type. To get the object number for the sign we add 7 to the sign type, which gives us object type 7, for a straight sign.
Now let's take a look at how to use the base coordinates in bits 3 to 7.
Calculating sign coordinates
----------------------------
Each sign's 3D coordinate is calculated by taking the relevant values from the xTrackSignVector, yTrackSignVector and zTrackSignVector tables, scaling them up by 2^6 (for the x-axis and z-axis) or 2^4 (for the y-axis), and adding the resulting vector to the 3D coordinates for the start of the track section that's specified in the trackSignData table for the sign.
As an example, consider once again the sign that's shown at the start of the practice laps, which is sign number 15. This sign has the following values in the track data file:
- xTrackSignVector = 0
- yTrackSignVector = 8
- zTrackSignVector = 36
We scale these up by 2^6, 2^4 and 2^6 respectively, to get the track sign vector:
  [ xTrackSignVector ]   [  0 << 6 ]   [    0 ]
  [ yTrackSignVector ] = [  8 << 4 ] = [  128 ]
  [ zTrackSignVector ]   [ 36 << 6 ]   [ 2304 ]
We then look up the track section number from trackSignData. As noted in the previous part, the entry for sign 15 has %10111 = 23 in bits 3-7, so we add the inner track section vector for section 23 to the track sign vector to get the sign's 3D coordinates:
  [ xTrackSectionI ]   [ xTrackSignVector ]   [ -11810 ]   [    0 ]
  [ yTrackSectionI ] + [ yTrackSignVector ] = [   3197 ] + [  128 ]
  [ zTrackSectionI ]   [ zTrackSignVector ]   [   -558 ]   [ 2304 ]

                                              [ -11810 ]
                                            = [   3325 ]
                                              [   1746 ]
So the sign we see at the start of each practice session is at 3D coordinates (-11810, 3325, 1746), which we can build as an object by calling BuildRoadSign from the main driving loop, before drawing it with a call to DrawCarOrSign.